Explorer l'Europe est une expérience qui transforme l'âme. Récemment, je me suis lancé dans un voyage qui fut un tourbillon de culture, d'art et de nature — une aventure que je ressens le besoin de partager à travers mes écrits. Chaque pas fut une découverte, et maintenant, en organisant mes souvenirs pour mon blog, je revis chaque instant.
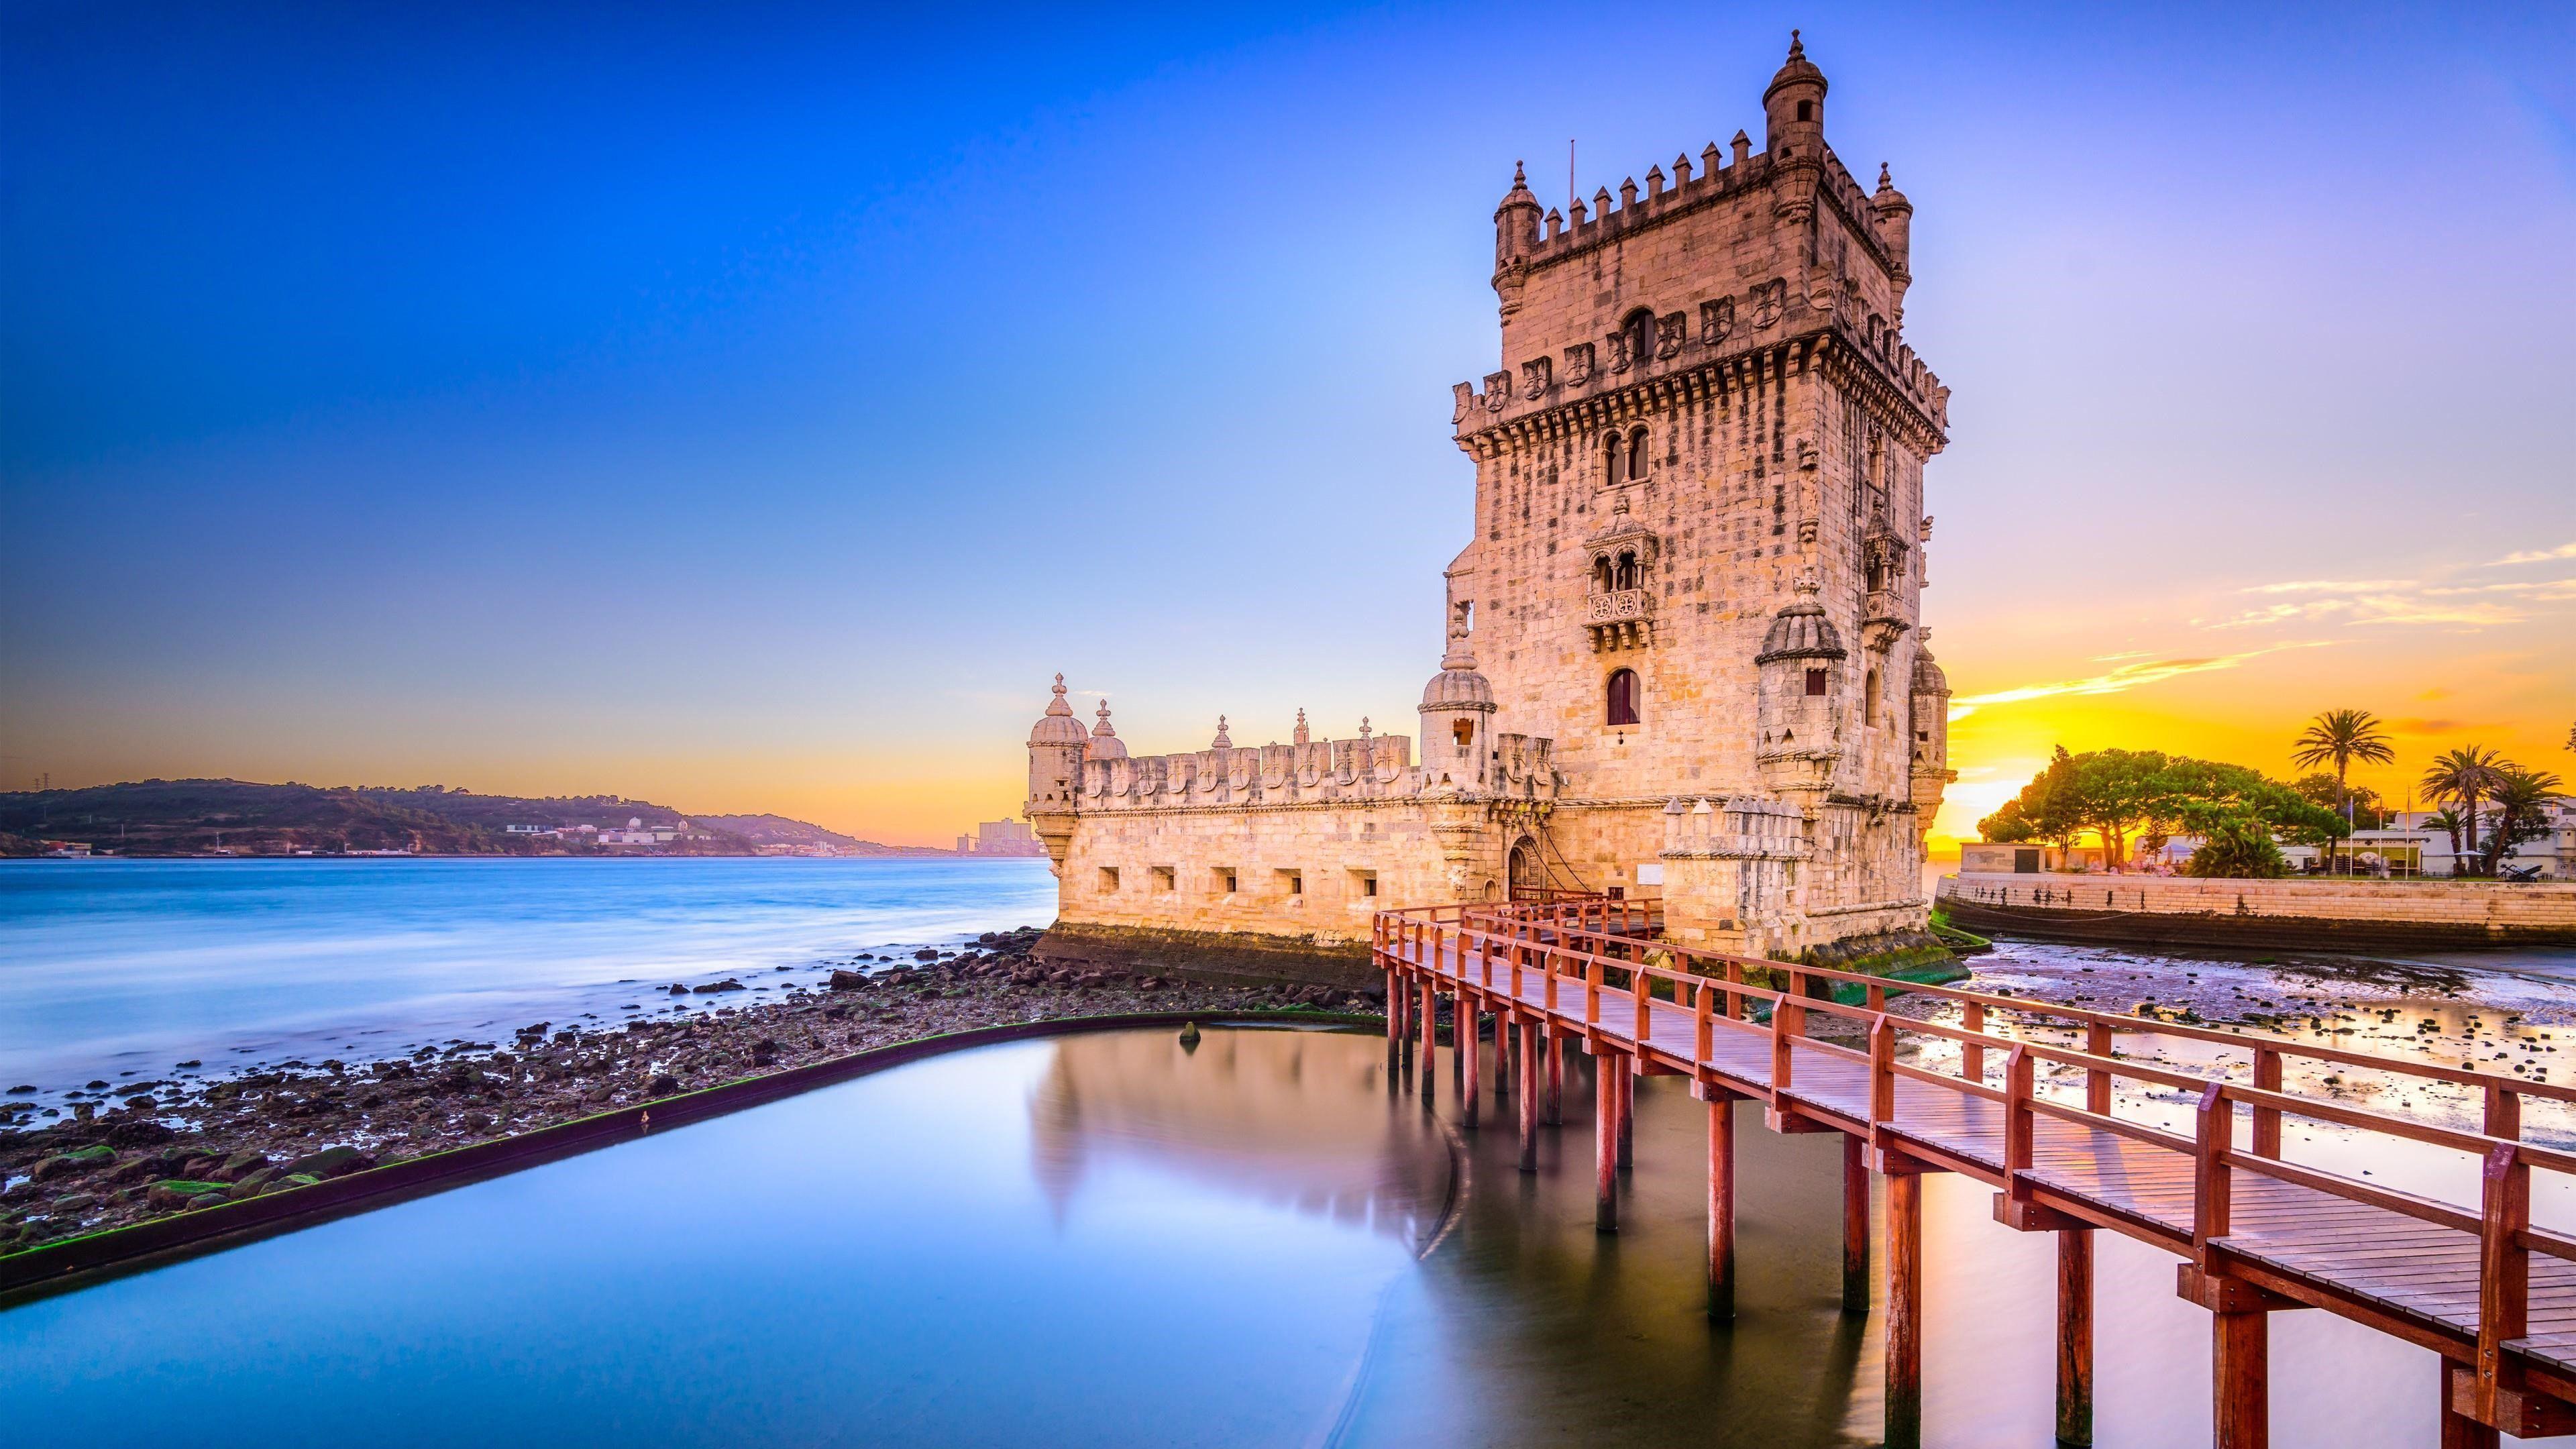
Le voyage a commencé dans le sud, où le soleil semble briller plus fort. Au Portugal, je me suis perdu dans les rues de Lisbonne, où la musique résonne à chaque coin de rue, accompagnée d'un bon vin. Ensuite, l'Espagne m'a contagié avec son énergie vibrante. Peu après, j'étais en France. Passer des journées à marcher dans Paris, c'était comme vivre dans un film, avec l'art qui surprenait à chaque coin de rue. Le voyage gastronomique et culturel s'est poursuivi en Italie. À Rome, entouré de siècles d'histoire, chaque repas était une célébration. Le vin local, partagé sur de petites places, a un goût d'histoire et de tradition.
Puis je me suis dirigé vers le nord, traversant l'Allemagne, avec ses villes animées et ses fantastiques terrasses où l'on peut savourer une excellente bière après une journée de vélo. J'ai fait un arrêt surprenant en Slovaquie, découvrant des paysages inattendus. L'appel de la nature et du plein air est devenu plus fort à mesure que je montais sur la carte. La Suède était un rêve pour les amateurs de randonnée, avec ses vastes forêts et ses lacs sereins près de Stockholm. Le voyage a culminé en Finlande ; l'air pur d'Helsinki et la connexion profonde avec la nature étaient vraiment rajeunissants. Marcher parmi les grands arbres a apporté un sentiment de paix indescriptible. Même un bref passage par Londres au retour a ajouté une touche cosmopolite à l'aventure.
Ce voyage fut bien plus que des vacances ; ce fut une source d'inspiration qui influencera ma carrière et ma vie. Il nous rappelle qu'il existe un monde immense au-delà de notre routine. Prendre le temps d'explorer, d'apprécier l'art, la musique, un bon vin ou une bonne bière, et simplement de marcher en plein air est essentiel. Des rues vibrantes de Rome aux forêts silencieuses de Finlande, l'Europe offre un trésor d'aventures.