 |
| Kubernetes cluster powered by Raspberry Pi |
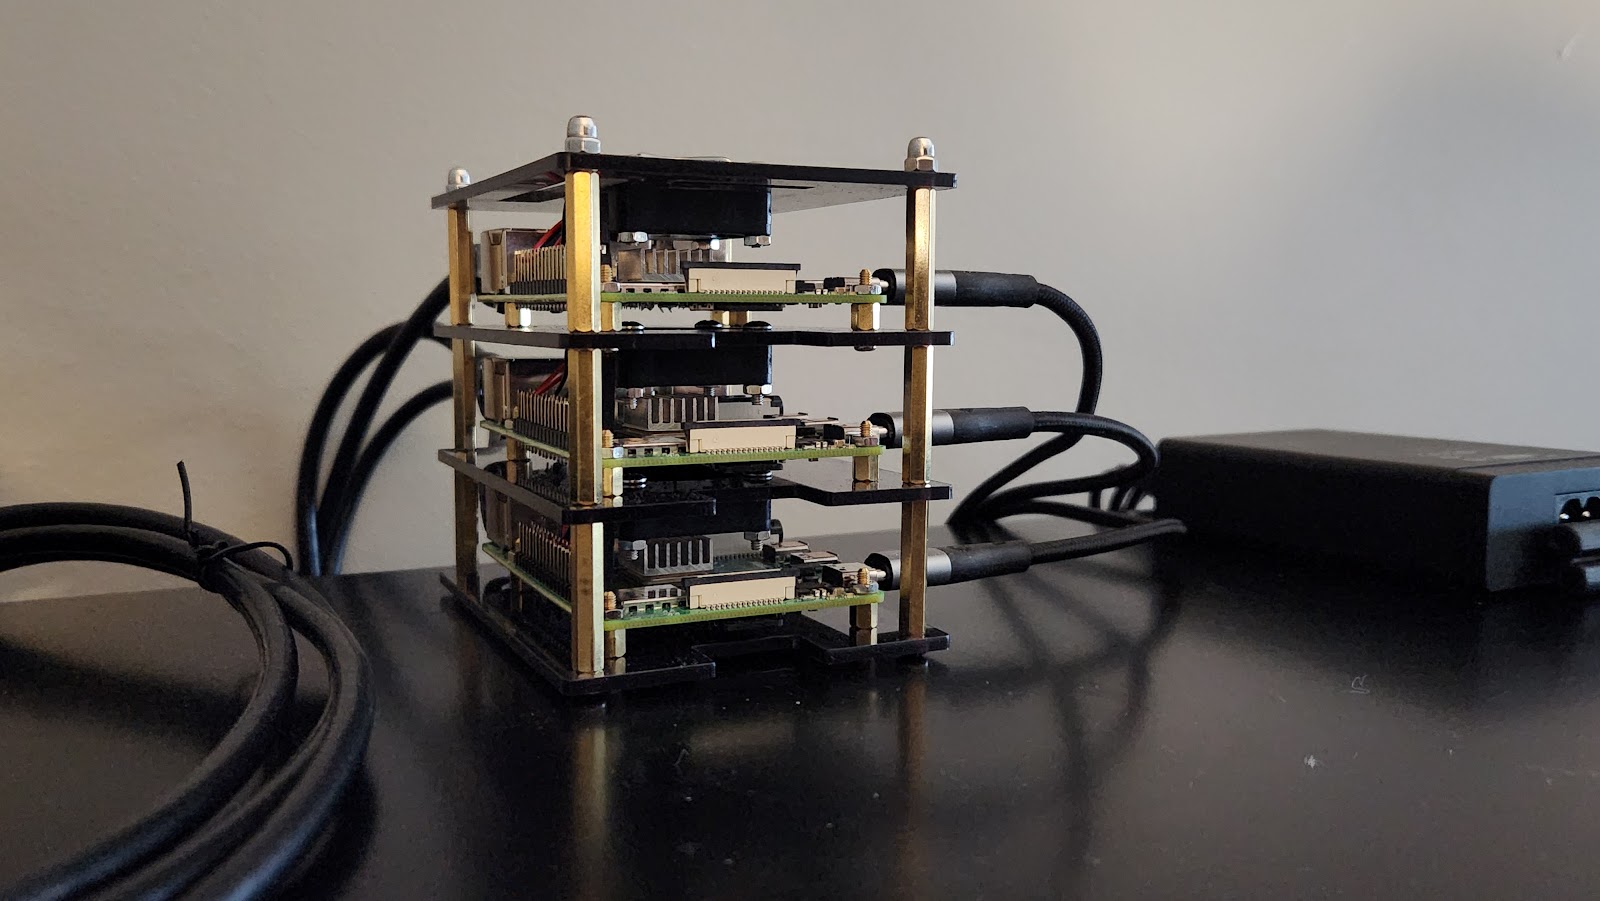
I recently deployed Kubernetes on a cluster of three Raspberry Pi 4 single board computers (SBCs), each with 32 Gigabytes of microSD storage and 4 Gigabytes of RAM.
Initially, I struggled with two approaches based from guides I found online. The first attempt was with Raspberry Pi OS, followed by a second using Ubuntu LTS 22.04. Both used Kubernetes packages from official repositories and Flannel and MetalLB for networking.
Both approaches resulted in integration challenges between K8S and networking based plugins, i.e., Calico, Flannel, and MetalLB.
After several attempts, I discovered k3s, a pre-integrated, single-binary Kubernetes distribution. It supports single-node deployments and scaling with worker nodes. It minimizes external dependencies, including the network plugins, which challenged me. Surprisingly, k3s with Ubuntu LTS 22.04 consumed only about 4.8 GB of microSD storage before I started to onboard container images.
The outcome with k3s was a three-node Kubernetes cluster deployed within 90 minutes.
Here are the steps I took to deploy k3s with Ubuntu LTS Server for ARM:
Install OS on microSD cards
- Download and run the Raspberry Pi imager (click here for installation instruction on Ubuntu.)
- Click the 'gear wheel' to access the configuration options to choose unique hostnames for your Pi boards (e.g.,
k3s-serverfor the master node). - Create a filesystem image on a microSD card for each board in your cluster.
Static DHCP Address Assignments
Assign static IP addresses to each Pi's NIC on your router or DHCP server to avoid operational issues during pod deployment and access.
Bootstrap
For each Raspberry Pi board:
- Log into the master node
k3s-server. - Run
sudo visudoand enableNOPASSWD: ALLfor sudo group users. - Upload the following bootstrap shell script.
- Save the output to a log file for troubleshooting with
script bootstrap.log. - Execute the script
./bootstrap.sh.
Repeat the imaging and bootstrapping for additional worker nodes.
Preparing the Master Node
The master node setup is streamlined thanks to k3s:
- Upload the following setup script to the
k3s-servermaster node. - Create a log with
script master-node.log. - Execute the setup script.
- End logging with
exit.
Deploying a Management Node
For remote cluster administration:
- On your laptop, install kubectl and helm.
- Run the following commands:
Testing Services through the Load Balancer
On the management node, run kubectl get services --all-namespaces and look for the service name test-cluster. From that line obtain and write down the external IP address. You will also need to write down the external port number.
The test-cluster pod is hardcoded to use an internal port 3000, and the k3s LoadBalancer service will assign it a random external port. In the 'PORT(S)' column, you can see both. On the management node, use curl to retrieve a JSON object from this port by invoking curl to the k3s server external IP address and external port. If you are successful, you should see this:
Conclusion
You now have a functional, cost-effective Raspberry Pi Kubernetes cluster for testing containerized services.